MyOldDesignjet.com
  • Home
  • I Save Designjets!
  • The Plotter Princess Blog
  • Reviews
  • Cables
  • Ask the Plotter Princess
  • HP Instant Printing Utility
  • Pay / Donate
  • Drivers
  • Files
  • Uses For Plotters
  • Screaming Cat?
  • Designjet Manuals
  • INK
Call the Plotter Princess at 651-247-3022 for help with your HP Designjet

Make your old cartridges print again!

9/7/2020

0 Comments

 
Picture
If your old cartridges (or even new ones) won't print 
here's some things to try;

.

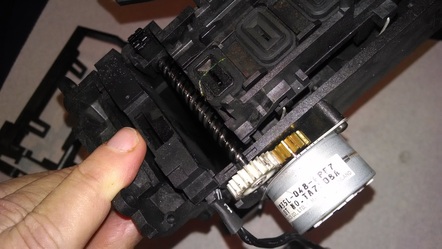
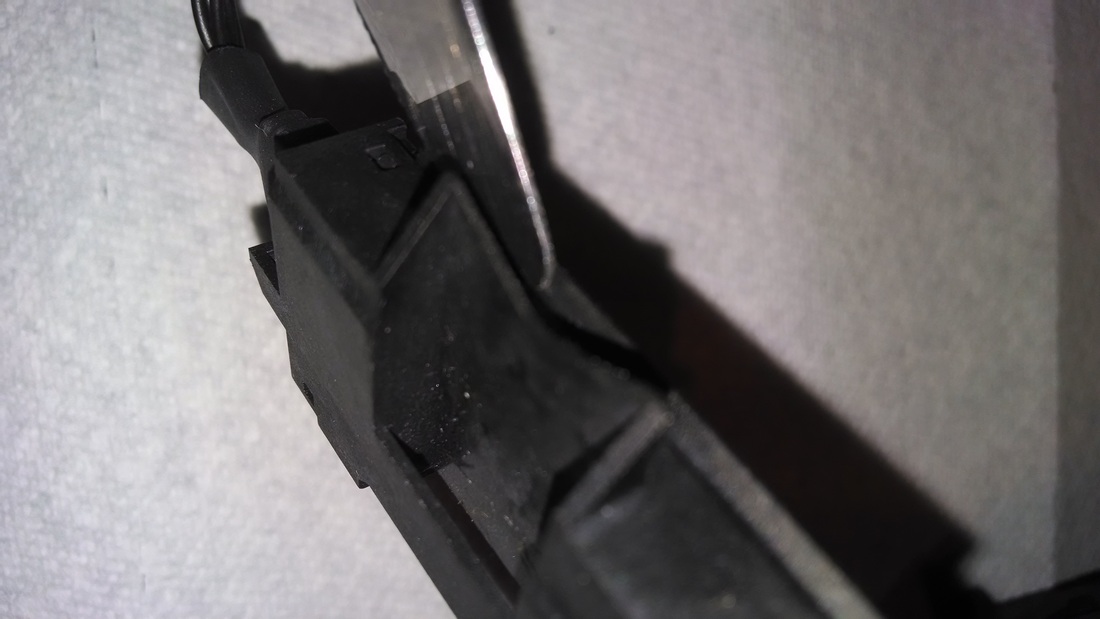
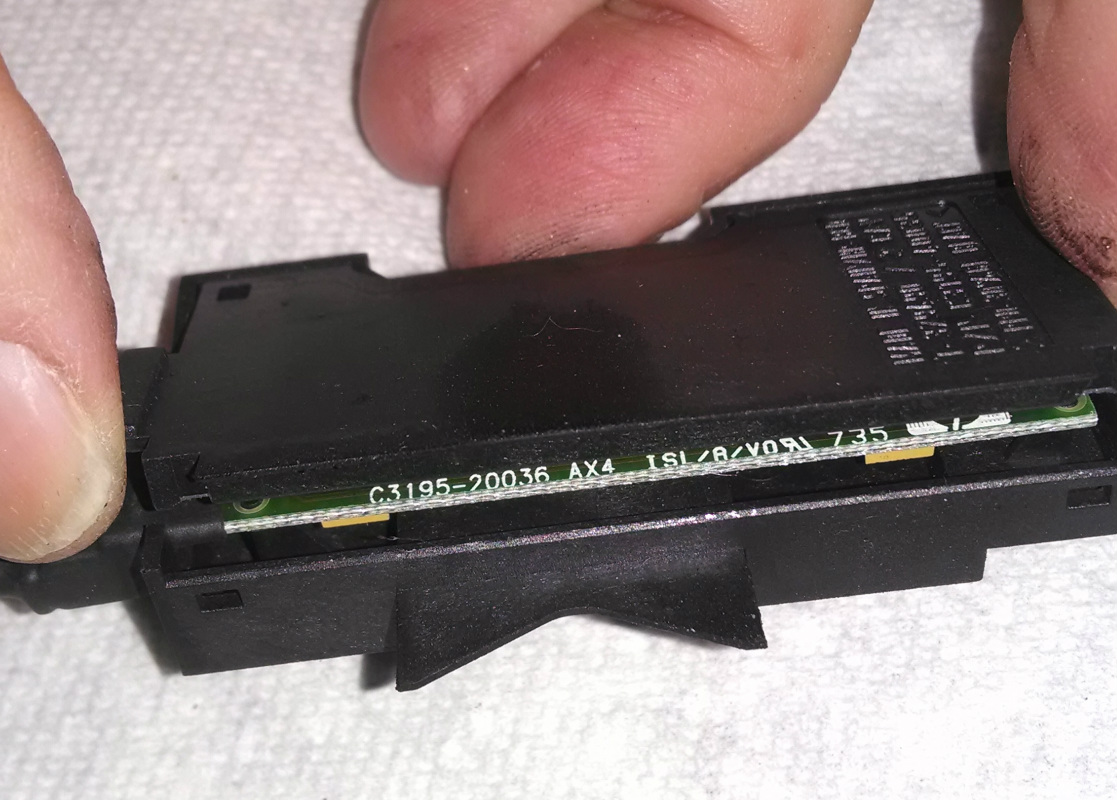
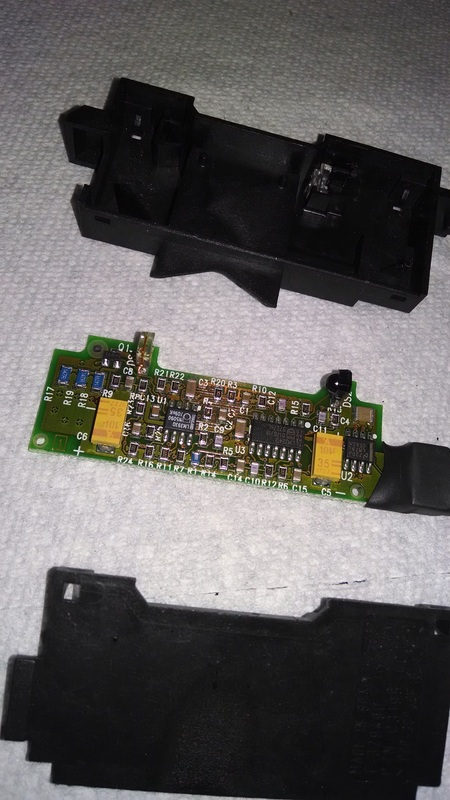
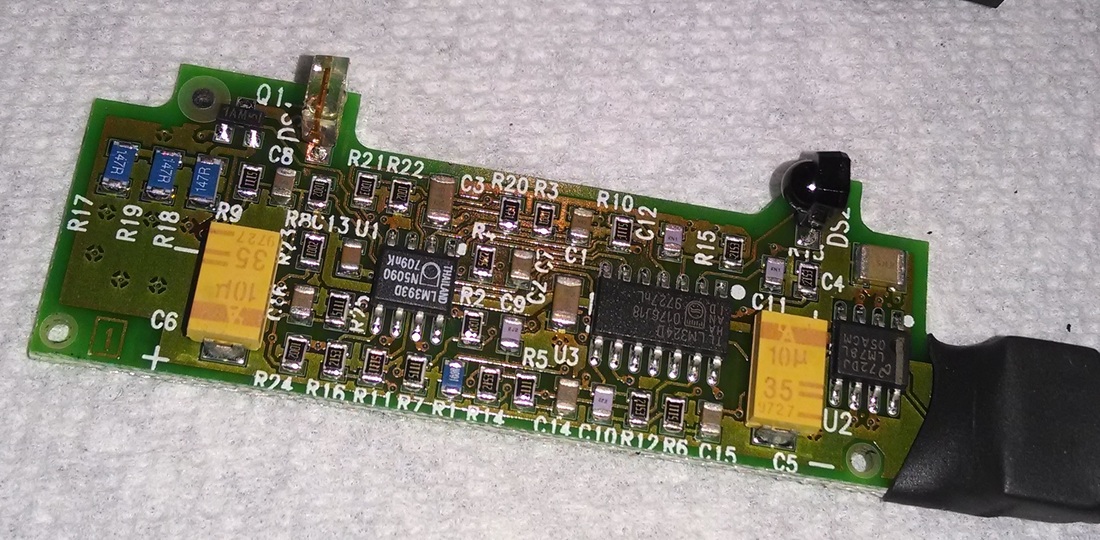
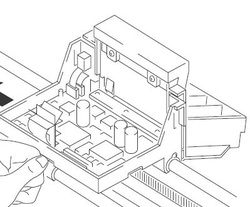
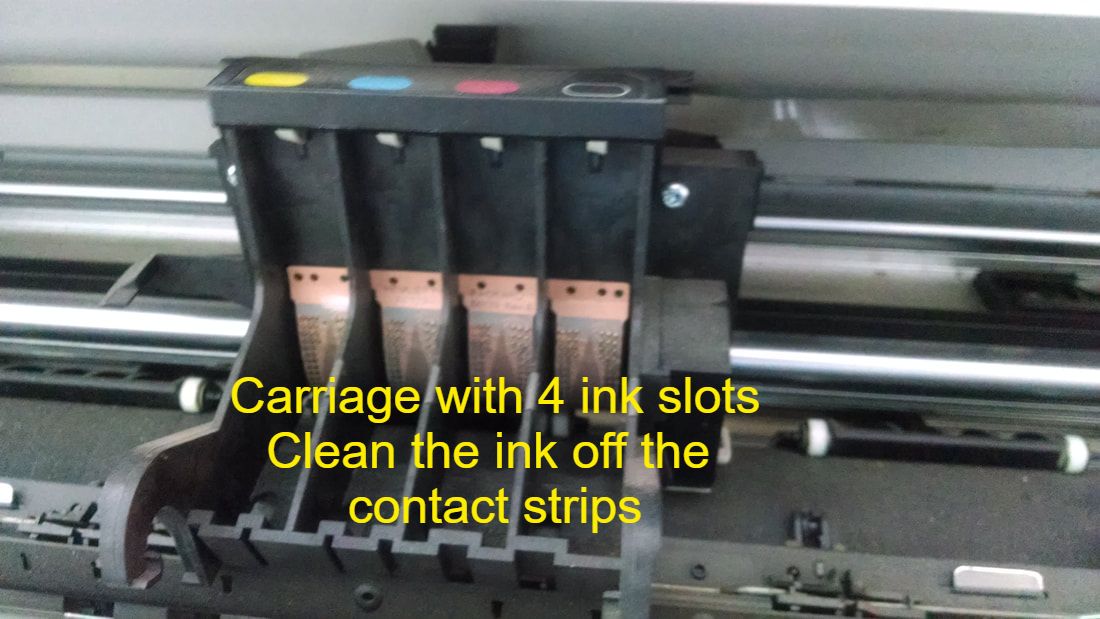
FIRST -- ALWAYS CLEAN THE CONTACTS IN THE CARTRIDGE SLOT -- they often have ink on them and that just doesn't work -- they need to be clean! Also, clean the slot contacts on the carriage where you place the cartridges. (see photo)


1) Hold under running hot water, shake it and look for two lines of ink when pressed to a damp folded paper towel. (Of course it is waterproof, it has ink in it!)

2) Soak for an hour in a quart of hot water with a hearty squirt of liquid dish soap and a quarter cup of ammonia - then shake hard and look for two parallel lines on a damp folded paper towel.

3) Fold up 4 or 5 very wet paper towels until you have at least an inch tall gob of towel. Press down slowly and firmly then release slowly and the towels will create suction as they return to their original depth.

4) If all else fails try smearing a bit of saliva down the cartridge contacts and snap into place. It sounds dumb. However, many have found this to work. My theory is that the spit seals small cracks in the microscopic contact wires that cause the cartridge to fire ink. 

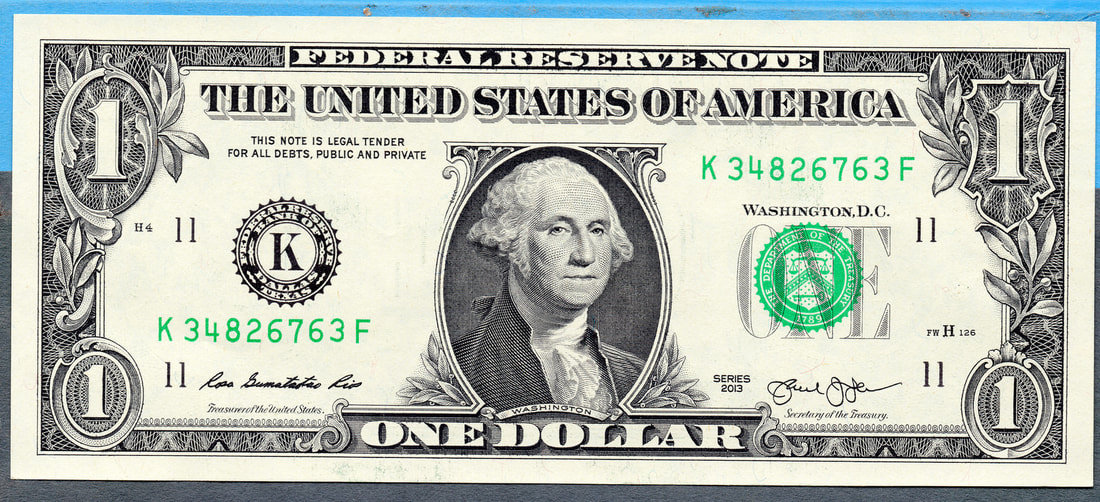
​5) Try rubbing the contact strip in the cartridge slot and on the back of the cartridge with a dollar bill. Others report this has worked...I haven't tried it yet.

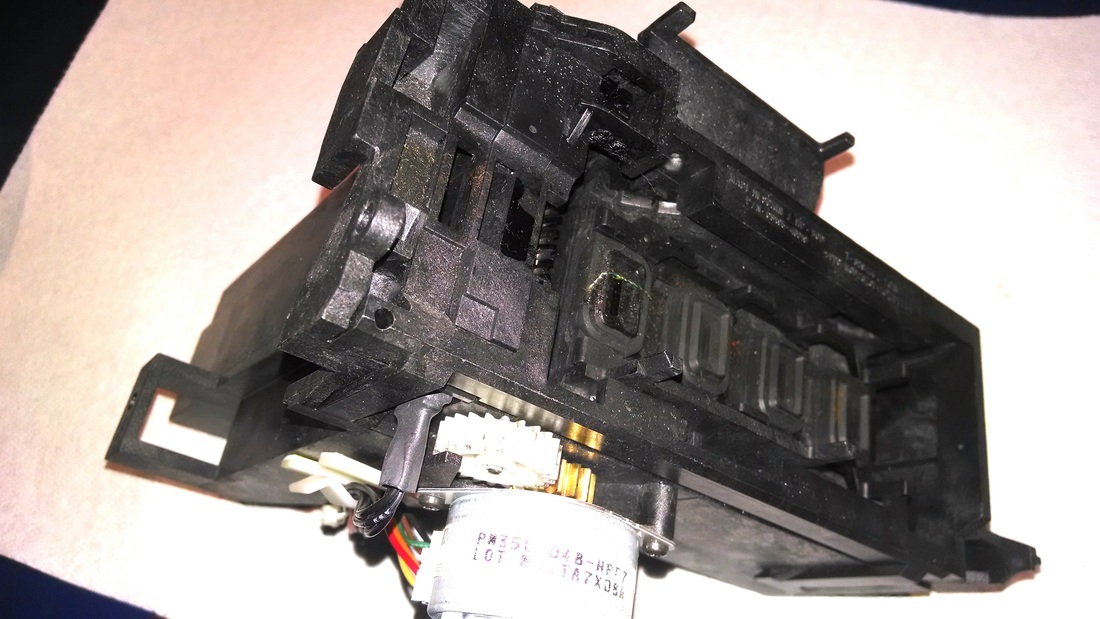
Sometimes replacing the trailing cable (big white ribbon that follows the carriage) is what is needed for your cartridges to fire ink out of all the microscopic jets. 

​


0 Comments

warning: Designjet 500/800 printhead fail

10/27/2019

0 Comments

 
HP 11 Printheads marked with Warranty Ends dates in the ranges indicated below might fail on installation, resulting in a printhead error message.
Printhead Affected date range (YYYYMMDD format)
  • HP 11 Cyan, Magenta, Yellow (C4811A, C4812A, C4813A)
    • March 2020 and later (marked 20200301 and later in YYYYMMDD format)
  • HP 11 Black (C4810A)
    • )April 2020 and later (marked 20200401 and later in YYYYMMDD format)

The Warranty Ends date is printed on the printhead packaging and on the printhead itself in the locations shown in the picture.

If you have an affected printhead, follow these steps:
  1. On a Windows XP, 7, 8, or 10 PC with a USB connection to the printer, download a zip file with your firmware.
  2. Open the zip file and run the HP DesignJet 500/800 Firmware Upgrade Tool A.05.01.
  3. Wait for the upgrade to complete, and then turn the printer off, and then back on.
  4. If the steps above do not help, contact HP Support for a replacement. Contact HP directly, rather than returning to the retailer.
0 Comments

Save your Cartridge for a dollar!

6/26/2018

0 Comments

 
Picture


​

Jeff from Henderson MN called this morning and said that although I'd put a new trailing cable in his Designjet 430 last year, the cartridge light was blinking and he was thinking of sending his guy Randy to me with the plotter. It's about a three hour drive so Randy stepped up and offered a possible solution:

Rub the cartridge contacts with a dollar bill.
Randy says he often uses this to get better performance from spark plugs.

IT WORKED!

Snapping the cartridge back into the plotter the light went out and the plotter started printing!

Give that Randy a raise!!!
0 Comments

Can't print due to expired ink? try this...

1/29/2018

0 Comments

 
This may work with your Designjet 500 or 800 if the install of the latest firmware now makes your plotter aware of expired inks --- I haven't tested it. Let me know if it works. Thanks!

If you cannot print is not because the ink is expired.

Try this.

1- delete all the pending jobs at the printer panel
2- reset the ink cartridges and acknowledge the warnings
3- print the Image Quality Print to check the status of the nozzles ant the printheads.
4- replace any bad printheads
5- do the printhead alignment and paper advance calibration
6- print an internal demo to test the hardware

0 Comments

Save a cartridge!

12/21/2014

1 Comment

 
Gary wrote this week to say that he has long used an ultrasonic jewelry cleaner to clear clogs out of the inkjet cartridge holes. Has anyone else tried this? Leave a comment if you have!
1 Comment

Drop Detector Errors and Pen Checking - See the photos!

12/29/2013

1 Comment

 
Picture
HP Designjets drop detectors are sensors that look at the drops coming out of each cartridge and pass or fail that cartridge. In the photo at the left my finger is pointing to the drop detector of a 750c.  There's only one problem with most of these old drop detectors...they get covered in gooey ink and no longer work. You have 3 choices when you start getting errors related to drop detectors:
1. Set PEN CHECKING (via your menu, usually under Device/Plotter Set Up) to OFF. You don't need it, you know if your cartridges are working better than the 1997 drop detector does!
2. Remove and try to clean the drop detector...be warned there is a small circuit board hidden in the drop detector's black plastic casing so you can't just flush it with running water. But you can open the casing with a small flat knife via the plastic seam. Once open you can pull  the circuit board out and wipe down the sensors and rinse the black plastic casing to get all the old ink out. (See below for photos relating to this procedure.)
3. Replace the drop detector by buying a new or used one online...
NOTE: Both cleaning and replacing the drop detector require that you re-calibrate the drop detector...look it up in your service manual. If you can't find it, contact me and I'll help.

Picture
The service station from a 750c.
Picture
Undo the four tiny screws on the top edge and remove the retangular black "frame" that hold the service station together.
Picture
Here's the drop detector. Lift it out...there was nothing but the frame holding it in place.
Picture
Slide a flat blade into the plastic box seam of the drop detector to force the two pieces apart.
Picture
See the drop detector circuit board? Now lift the cover off and then take out the circuit board...
Picture
The 3 pieces that make up the drop detector.
Picture
Circuit board with the round "eye" on the top right that needs to be cleaned off with a cotton tip and some alcohol...and the other piece that looks like a tiny lens (left upper) that also needs to be cleaned off.
Picture
The left side of the sensor goes into the clear plastic front box on this plastic housing (right side).
1 Comment

More from Brad from Down Under! How to remove the carriage without removing the end caps!

8/23/2013

0 Comments

 
Picture
(Readers - Brad from Perth is a fellow classic plotter enthusiast and has written a second guest blog for us...Thanks Brad!)

I have a couple more tips you might not have stumbled across.
My favourite is removal of the carriage with it remaining in the centre of the printer.

On each side of the carriage, the two slider bushes are retained by a screw and flat washer. If you remove these, you can pop your finger under the carriage and slide the bushes out (sometimes they take quite a bit of force, but you can't damage anything with finger force).
Once those are out you can work the front of the carriage up and away from the front slider rod. Then it is a matter of gently sliding it forward and off the bush on the rear. Now, the spring that tensions that rear bush has a hair trigger, and will fly quite some distance if you don't get your hand on it before sliding the carriage off.

The bushes are indexed and so can't be assembled incorrectly. I like to give the fine lubricant slots in the bush faces a real good clean, as they seem to gum up badly depending on which lubricant people use.

Assembly is reverse of removal. This way you don't have to remove the slider end caps or disturb the trailing cables (I ruined my first set as the glue holding the cable ends together had disintegrated and so they fell to bits as soon as I pulled them from the contacts).

I've also found that as the trailing cables age, they can de-laminate around where they curl into the contacts on the carriage, and also the bend that forms where they loop out in the printer. They seem very touchy to any form of movement they are not routinely subjected to (like, oh.. say slipping with a screwdriver and belting them with the palm of your fist).

Speaking of lubricant, I'm one of those sticklers for the right stuff. So I have a bottle of 6040-0855 HP synthetic lubricant that I use. It wasn't expensive, and I figure they went to the trouble of making a specific lube, so I might as well use it. At the rate I go through it I figure the bottle will last me 100 years. I also have a syringe of the right white grease for the X-axis gears, but the part number has long gone from that. It's the same stuff I use in the gears of all my laserjets, and is another HP specific goo. Again, it'll outlast me I'm sure. It turns out the synthetic lube (which is water clear when you buy it) slowly yellows with exposure to UV, so keep it in the dark (like ink). My first refill was with ink that had been sitting on my shelf for a year, and I was amazed by how much it faded in the bottle with exposure to UV. I had to drain and refill the carts with new stuff or else all my prints looked like they'd been pegged to the clothes line outside for a year.

Sometimes I've had trouble with recognition of one of the cartridges, ultimately ending in the printer becoming a monochrome model. Upon dissasembly of the carriage, I put the flexible ribbon for the cart contacts under a powerful magnifying glass and spotted where one of the contacts for the offending cartridge had a break right where the copper track joined the gold contact lump. Rather than spring for a re-furbed carriage, there are a couple of e-bay stores in China that stock replacement ribbons for less than half the price of a replacement carriage.

I always give these a good going over anyway as I completely disassemble the carriage for cleaning, but it turns out they are not very difficult to replace.

I like your spot on the DJ500. I worked in an office for years that had an 800ps, and if I could fit it in, I'd get one. Unfortunately I need the 36" wide carriage, but the hole in my office is only just big enough for the 750, so a 42" 800 would be out of the question. Just way too wide.

I've not done a great deal of research on those units, but I certainly enjoy working on the 700's, and even at 300dpi, on coated paper with good ink they do a credible job for images, and a terrific job for CAD (which is their main use here).

Ink is another one. I've taken up re-filling my own carts, and saved a fortune. I pick up new (expired) carts on e-bay when I get the chance, as I find a good refill may only last 3 or 4 fills before the image quality falls off as the print head degrades, and they are only suitable for CAD.

I keep about 3 full sets of carts, a acceptable, good, & best set that I swap between when I want to make something really shine.

I find that the silicone wipers in the service station tend to scratch the print heads if they are allowed to get too dirty. When I refill a cart I have a good look at the head under strong magnification, and that determines which pile it gets assigned to.

One of these 750's lives at my Parents house for Dad to use, so I keep some sets of carts for them also.

I find that by re-filling them myself, I can keep the little green ink level indicator working, and by making sure that they are swapped out when it goes black, rather than when they fail a cartridge check, I don't tend to burn out nozzles, and the carts last more refills.

I have it down now that I can do a set of 4 in about 15 minutes, but if I'm doing a batch I can probably do 3 full sets in half an hour. I do my wifes Officejet 6500a also. It's supposed to use different inks, but it does very well with the same stuff I put in the designjets.

You guys are lucky in that the best ink and accessories all come from the States. Costs me a bomb in postage (relatively), but it's still miles and away cheaper than even expired carts.

If it's of interest, I can detail some of the do's and don'ts I've learned about refilling too.

0 Comments


    Buy designjet Ink & supplies here!

    I write about common problems with older HP Designjets. I'm always available 10am to 10pm CDT to answer your questions!
    ​651-247-3022
    ~~~
    Located in the Twin Cities of 
    Minneapolis
    ​and St. Paul, Minnesota

    ​___


    Call Me
    651*247*3022

    or email


    ___

    ​If I helped you to solve your problem and/or helped you save a few dollars, you may wish to donate a dollar or two to help keep this service available.
    ​
    Donate Now

    Categories

    All
    Buying
    CAD
    Designjet 430
    Designjet 450
    Designjet 500
    Designjet 600 / 650
    Designjet 800
    Drivers
    Etc)
    History
    Ink Cartridges
    Ink Cartridges
    Installing
    Media (Paper
    Misc
    Network
    PDF's
    Ports
    Princess Picks
    Printing
    Troubleshooting
    Win 10
    Win 8

    # 40 Refilled Ink
    # 40 Refilled Ink
    5188-6700, C3190-60095,       C4705-60082, C1633-40082 C2990A, C2991A 5063-1257 C2951A, 5063-1256,       C2913A, 17302A, 31391A C4713-60181, C4713-60182,      C3180-60012, A6144-63008,    C4699-60082, 51644CA,       51644CE, 51644CL,       51640A, 51644C, 51644M,       51644Y, 51640AA,     51640AE. 51640AL,     51644MA,51644ME,     51644ML,51644YA,51644YE 51644YL, C4713-40038,     C4699-40003,C4699-40004,   C4699-00015,C3190-60082,     C4699-40005,C3192-60001,     C4699-60078,C3174-40011,     C3876A, C3886A,51642A,     C4696-60006,C3190-40029,     C4704-60095,C3190-40041,     C3190-40052,J3258-61041,     J2591-69001, J2594-69001,     J3258B, J2591A, J4102B,     J2590A, J4101B, J3264A,       J3265G, C3190-40045,       C3178-00030, C4705-00017,     C4696-60007, C6074-60460,     6040-0858, C3146-67901,       C4699-60074, C4699-69039,     J3265-69001, J2382-69003,     J4102-69022, J2592-69001,     J2590-69001, C4699-60064,     C3190-60145, C4699-00008,     C4699-60020, C4699-60011,     C4699-60015,C4699-60014,     C4699-60017,C4699-60018,     C4699-60012,C4699-60019,     C4699-60016,C4699-60013,     C4699-60081,5188-5676,       0957-2340,0950-2623,       C4699-60003, C3190-60132,     5183-5268,5184-2833,     C3190-60096, C4699-60042,     C3174-60013,C3190-60140,     C3190-60142,C4713-60123,     C6072-60286,C3174-60005,     C4699-60002,C3190-80010,     C1633-80005,C3192A,       C4713-60098

Our Mission is to Help you continue
to use your older HP Designjet Plotter!

Contact the princess at
​651-247-3022

Photo used under Creative Commons from Frank Boston